Nav

Image Map

Saturday, December 30, 2017

Spotlight on Steve Jenkins!

If you don't have any Steve Jenkins in your life, you need to get some Steve Jenkins in your life. Seriously. His books are amazing. I was first introduced to Steve (we'll pretend we're on a first name basis) in college, when I had to read What Do You Do With a Tail Like This? for a children's literature class. 

While I believe many of his texts are written at a third/fourth grade reading level, he has such a talent for making the text accessible to young learners. In fact, the inspiration for many of his books comes from the wonderings of his own children. And his wife helps him with the design of the books. Super cool, I know.
I read Steve's books to my first graders every year. They are not only perfect for meeting the Common Core informational text standards, but also cover some of the core ideas presented in the Next Generation Science Standards. A win-win, in my opinion. Which is why I present to you:


I am so excited about this author study. How excited? Excited enough to dust off this old blog and write about it. This author study includes activities for eight of Steve's books and will have students reading, thinking, writing, creating, comparing, contrasting, predicting, questioning, determining cause and effect, using context clues, sequencing, classifying, finding textual evidence, and so much more!

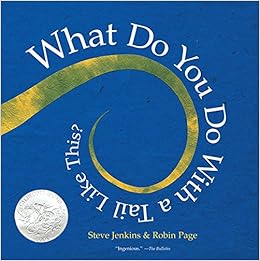
The first book I included had to be the classic What Do You Do With a Tail Like This? I mean, that book and I go way back. This book is great for making predictions:

And learning about special physical adaptations:

Students create their own "Amazing Adaptations" book based on information they learned.
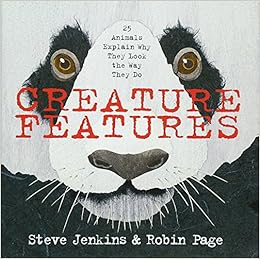
Next up is Creature Features, which quickly became another favorite read-aloud. Again, students are learning about special adaptations and will even use their knowledge of these adaptations to create their own unusual creature.


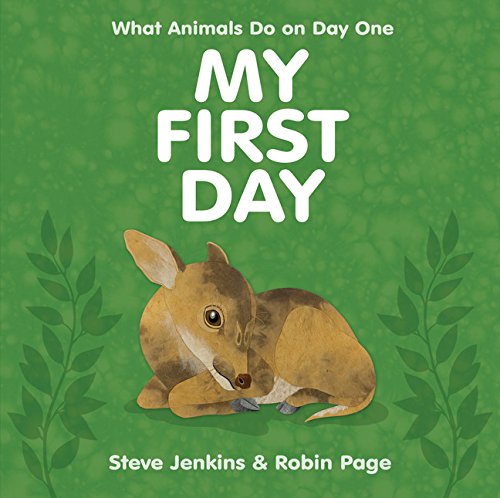
Ready for adorable animal babies? Next is My First Day. Students will work on comparing and contrasting, as well as using textual evidence to support claims.


Students will see procedural writing in a whole new light with How to Swallow a Pig.


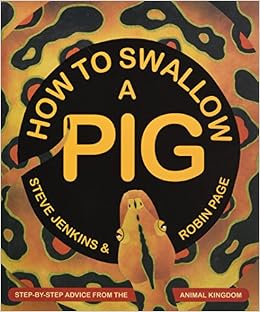
The things that animals know how to do in this book are similar to things that humans know how to do, perfect for comparing and contrasting.

Students can have fun presenting what they've learned with these interactive flip-ups:
Students glue the flaps onto a different sheet and write/illustrate about the animal under each flap.
And of course, students can work on procedural writing, including sequencing and paraphrasing information:

Next, students will receive some animal advice in Never Smile at a Monkey.
This guy means business.
In these two activities, students are working on classifying the information form the text and using context clues to determine the meaning of tier II vocabulary words. 

Inspired by Steve's son's love of superlatives is Biggest, Strongest, Fastest.

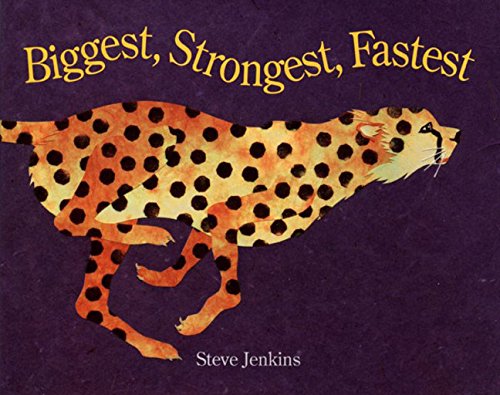
Students will practice determining between fact and opinion and then will use facts and opinions to create their own animal award (complete with graphic organizer to help get them started).
Steve's book Move! is great for reinforcing vocabulary and knowledge of verbs.


Students start out by going on a "verb hunt" (magnifying glasses optional).
Students will learn how different animals move and will connect this knowledge to other animals that they are familiar with.


Last, but certainly not least, is the ever-entertaining What Do You Do When Something Wants to Eat You?


Students will practice with cause and effect, as well as show off their creative side in writing about what they would do if something wanted to eat them.


And of course, no author study is complete without materials to tie everything together. Here is a sample of what is found at the end of the unit:


Students will review Steve's books and/or write an opinion piece on which book was their favorite. 

Nothing says "Steve Jenkins" like some collage art!

Students select one of the animals in Steve's books to learn more about. After researching, they create a mini-book.

I hope you enjoyed the preview of my Spotlight on Steve Jenkins nonfiction author study. This was just a sample of the 85-page product available in my TPT store. If your students love learning about animals as much as mine do, this is definitely a must-have!

Saturday, September 10, 2016

The End of the No-Name Paper: A PSA

This post needs to be accompanied by angels descending upon us playing harps while showering the world with flower petals and happiness and smiles.

Seriously. I know I'm a bit late to the party, but...

The highlighter trick to getting students to put names on their papers?


It. Works.

I mean, it really, really works.

Why has it taken me until my fourth year of teaching to get on board with this idea? Well, I'll tell you why. I was skeptical. I thought that adding a step to students' turn-it-in procedures would just confuse them more. Then I'd not only be policing the no-name papers and the kids who want to put their papers everywhere but the turn-in basket, I'd also be constantly reminding them to use the highlighters. Right?! Wrong. So, so, so incredibly wrong.

After telling them what to do with the highlighters, it took my firsties all of fifteen minutes to get on board with this procedure. Now they walk up to the turn-in basket, highlight their name, and turn in their paper turn around, walk back to their desks, write their name, highlight their name, and turn in their paper.

I don't want to jinx things here, but not one no name paper has shown up since that glorious day.

Not. One.

Whoever first came up with this idea should be a millionaire by now. Seriously.

Monday, August 1, 2016

Monday Made It: Refresh Edition

Three. Weeks. In three weeks, I will be starting my fourth year as a first grade teacher.  I swear it seems like I've only been on summer vacation for three weeks...but I digress. Today I'm linking up with 4th Grade Frolics for Monday Made It.
It's been a while since I've "made it". Actually, setting up my classroom this year has been pretty stress free so far (knock on wood) because my amazing custodian lets me keep a lot of stuff where it's at and because I'm finally content with my theme/color scheme/etc. that there really isn't much to do until I get my class list.

However, there are a few things in my room that I felt needed a bit of jazzing up. So I put my DIY pants on and went to work:
Oh, seat crates. How I love you so. These were one of my first projects when I got my job as a first grade teacher. A brief run-down on why I began to despise them:
  • The pattern. It doesn't match anything in my room. Plus, the fact that it was linear made it super obvious that I didn't put in the effort to make sure everything was straight.
  • The staple job. If you could only see the backside. It's terrible. And from the front, you can tell - the fabric is all baggy and lopsided.
  • The stains. After three years in the classroom, these seats began to look very well-loved, with marker splotches and other mysterious stains abound.

Even though my kitty friend Whiskers McMittens didn't seem to mind the above, I decided to "reupholster" my seat crates this summer. After a quick trip to Walmart, I was ready to go!


Here's how they turned out after. The fabric was in the bargain section at Walmart and only cost me seven dollars! I think the new pattern looks better, and a darker color means little "accidents" with our writing utensils won't show up as easily. I love how it's a thicker material, too! Plus, I clearly am a bit more skilled with a staple gun than I was before.

Okay, so my newest obsession is spray paint. Have something you wish you could use but you just can't stand the color? Or maybe you're like me and the color would be okay for a normal person but it doesn't match the color scheme of your classroom and therefore drives you crazy...?

Spray paint it. Spray paint all the things. Like this bookshelf that was originally some sort of light wood color but was kind of falling apart.


I saw this idea somewhere on Pinterest and decided to give it a try (after passing up the coral drawer liner several times at the Target dollar spot). It's definitely not perfect, but I like it, at least for now!
I also had a chance this week to put together my students' take home folders. Isn't this color gorgeous? Walmart actually earned a brownie point with me on this one.


Here's what the inside of the folders look like. One side is for things "Left at Home" and the other is for stuff that comes "Right Back to School". At the beginning of the year, I usually just call it the "house side" and the "apple side" for my non-readers. To save labels, I printed two on each and cut them in half. A version of my old full size labels are available as a freebie in my TPT store.


And of course my one cat couldn't have all the fame in this blog post. Here's Jingles, who didn't seem to mind me covering her in the backing from all the labels I used.

After years of owning a Cricut (and after impulse-purchasing the newest version this past June) I decided it was time to finally get my vinyl on. My old reading center tubs were too big, took up too much space, and simply had colored construction paper circles on them to denote which basket held which group's materials.

My new ones match my classroom color scheme, will take up less space, and are labeled for each of my reading groups. Definitely a lot cuter. But yes, it is driving me crazy that my vinyl sampler pack didn't come with orange. Hopefully I'll get over it...


As part of our new school-wide behavior plan, we're implementing "cool down spots" this year. The idea is to convey to students that we want them in our classroom and that it's okay to have strong emotions - we just need to recognize when we need a quick minute to calm down.

In my cool-down spot, I wanted to have some materials that students can fidget with or that they might find calming. So far in this bucket, I have two squishy creature ball things, a twisty tangle, a mini-slinky, and a bendable flower. I plan on adding a timer and possibly some calming glitter water bottles, too.

Monday, July 11, 2016

Differentiated Year-Long Spelling and Word Work

In my district, we do not have a basal or a phonics program (pause for the angels to descend upon us in a beam of glowing light). While I love not having to plan my instruction around one, I know that there are many teachers in my position that wish they had some sort of guide or scope and sequence to help them plan their instruction.

Enter:


It's here. It's differentiated. It's low-prep. And it has you covered for the whole year! (Click on any of the pictures to hop over to my store).

You get 30 weeks of spelling instruction.  Each week focuses on a different skill and has two different lists (the standard "A List" and a more challenging "B List").


Each week also comes with a say and sort page. Have students glue the pieces down or have them keep the pieces to complete other kinds of sorts throughout the week.


Needing additional practice? With this product, students also have the opportunity to practice spelling with word configuration boxes. Alongside the spelling practice, students can also build their reading skills by filling in a sentence with the correct spelling word. These two types of printables come with every list, every week.


But the fun doesn't stop there! Also included in this product is my Word Work Activities for Any List! Yours for free! So many practice opportunities! Here is a brief preview:


This product also includes 20 task cards and a rubric :)

I wanted to give you and your students plenty of options when it comes to spelling instruction. If you are interested in seeing more, the preview file in my TPT store gives you one week free to try out.